Posted: Mar 24, 2016 1:38 pm
Installing the heel cap
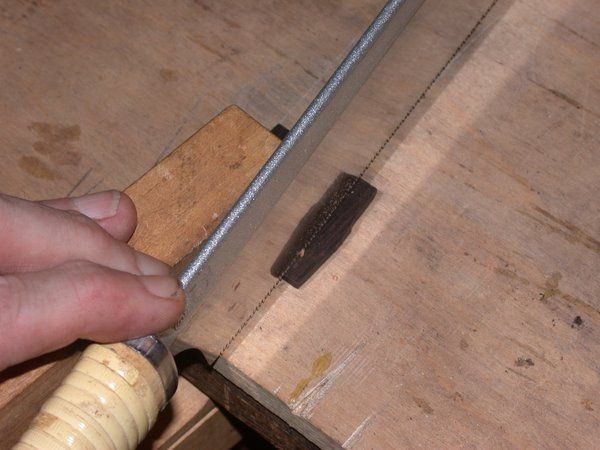
I'm using a bit of cutoff left over from the fingerboard blank for the heel cap. I saw the 1/4” thick fingerboard in half and then take it down the rest of the way with a safety planer. A bit of scraping and it's good to go.
I roughly cut the cap to the size of the heel bottom but I leave plenty of extra and trim it back after the cap is glued to the heel.
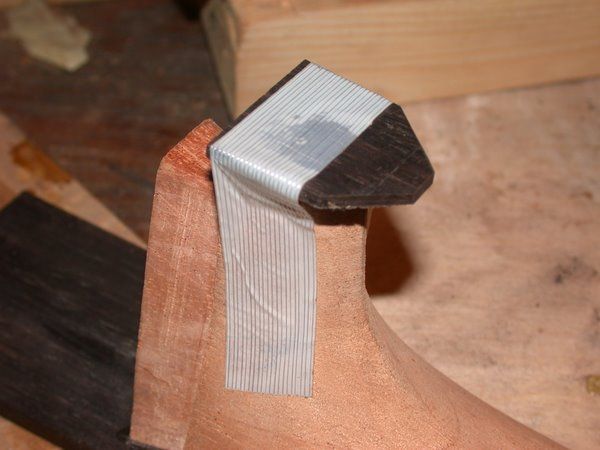
A bit of glue and a bit of tape holding the heel cap in place.
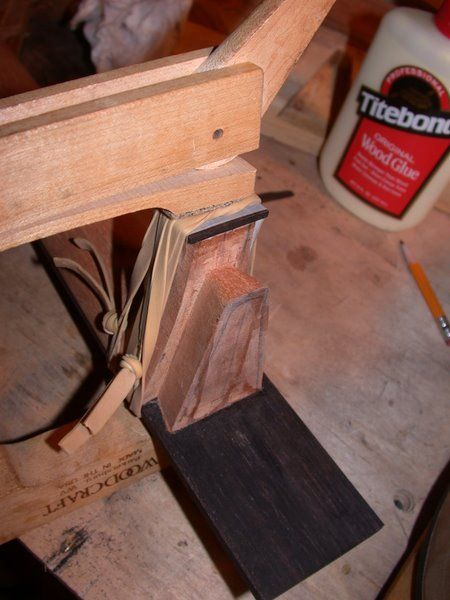
Some rubber bands hold the cap a bit tighter than the tape and then add a clamp in the middle.
After the glue dries I saw off any large cap overhangs.
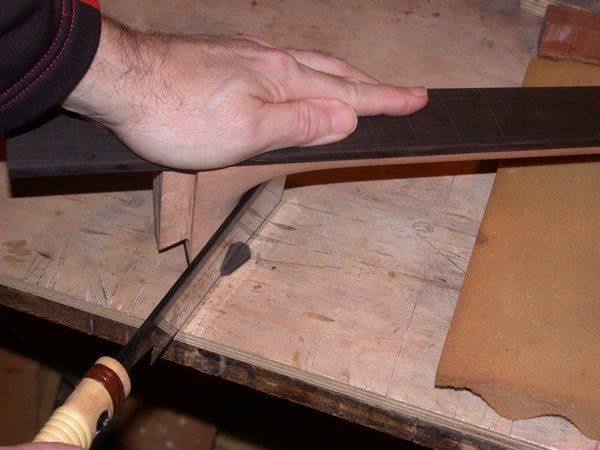
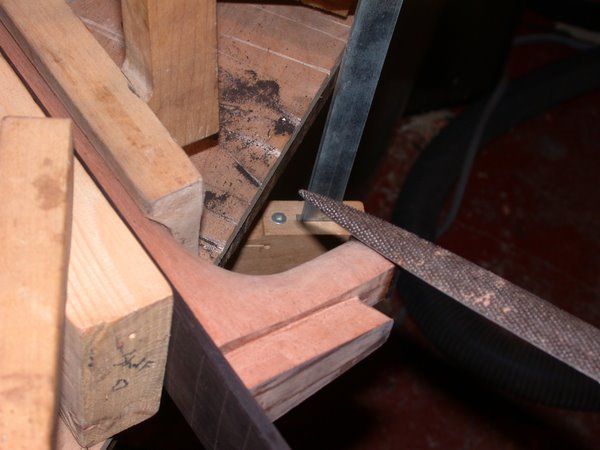
I use a rasp to shape the cap to the heel. A center line on the bottom of the cap helps me to see if there are any symmetry issues. This is a good time to check heel symmetry too and make any adjustments that are needed.
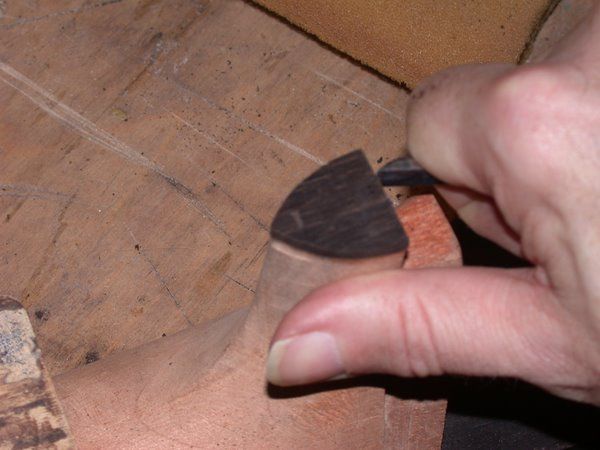
I use a small chisel to scrape the flat part of the cap that will be against the guitar body.
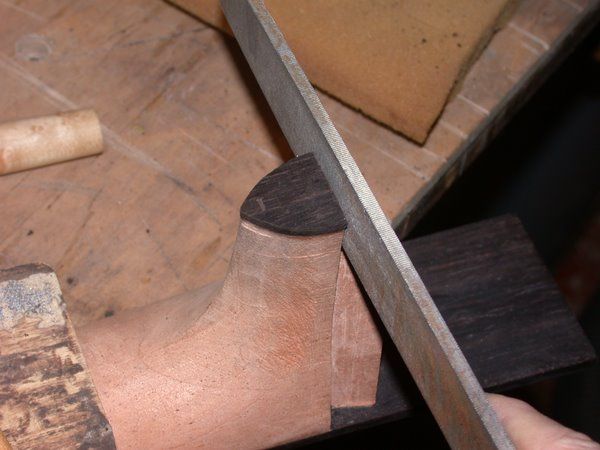
A file is a good way to flush the cap with the rest of the heel. This is a good time to be careful.
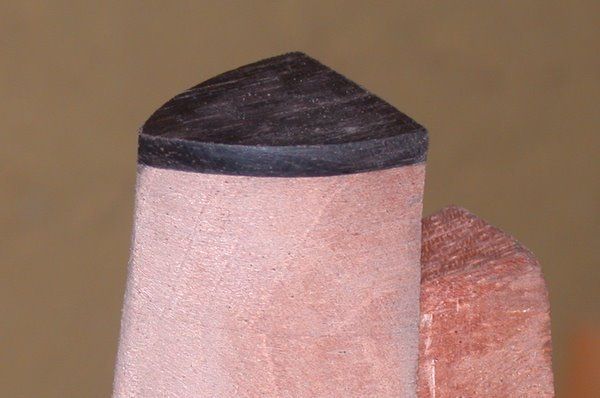
I use a bit of sandpaper on a rubber block to clean things up and that's good enough for now.
I'm using a bit of cutoff left over from the fingerboard blank for the heel cap. I saw the 1/4” thick fingerboard in half and then take it down the rest of the way with a safety planer. A bit of scraping and it's good to go.
I roughly cut the cap to the size of the heel bottom but I leave plenty of extra and trim it back after the cap is glued to the heel.

A bit of glue and a bit of tape holding the heel cap in place.

Some rubber bands hold the cap a bit tighter than the tape and then add a clamp in the middle.

After the glue dries I saw off any large cap overhangs.

I use a rasp to shape the cap to the heel. A center line on the bottom of the cap helps me to see if there are any symmetry issues. This is a good time to check heel symmetry too and make any adjustments that are needed.

I use a small chisel to scrape the flat part of the cap that will be against the guitar body.

A file is a good way to flush the cap with the rest of the heel. This is a good time to be careful.

I use a bit of sandpaper on a rubber block to clean things up and that's good enough for now.
