Posted: May 08, 2016 7:00 pm
 I think I'm done building. Time to finish ...
Finish preparation
The final finish of your guitar will only be as good as the finish preparation you do before you start any of the finish steps. So time spent in the final sanding and other prep is well spent.
The grit I start with depends on the wood I'm using and what shape the guitar is in but 100 grit isn't going to harm anything. A firm block made out of something like solid wood, hard rubber, or cork is a must. You'll never get a flat surface if you just use sandpaper by hand.
Of course it's also necessary to sand in the direction of the grain. Easier said than done when working with wood like this guitar has.
I like to start with a large wooden block.
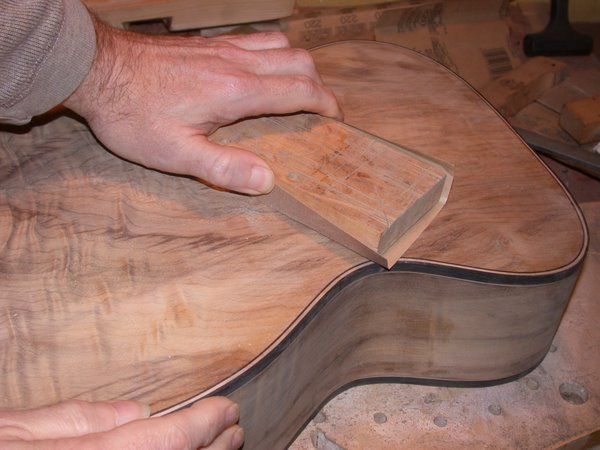
I switch to a smaller rubber block for the sides and some areas of the top. I work my way up to about 270 grit paper.
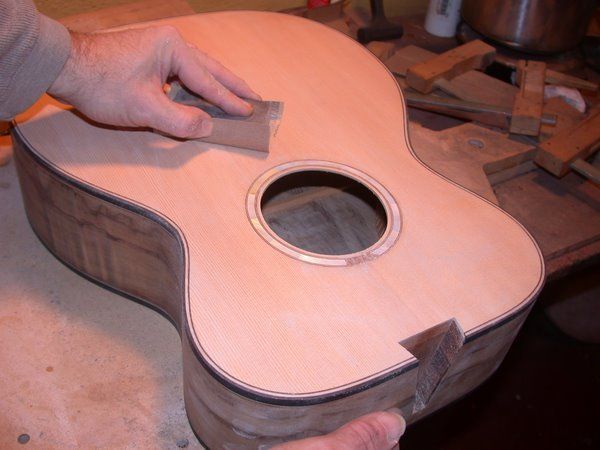
Inspect for any voids between the binding and purfling or edge of the guitar. I found one on the top surface and since I'm using dark wood binding I made a bit of filler by creating some matching wood dust. Put the wood dust in the void, clean off the surface, and squirt a drop of super glue on the area. After the glue dries sand the area and check the job. Sometimes a repeat application of dust and superglue is necessary.
I don't need much filler on this guitar but if I did I would use some power sanding tool, like a drum on a drill press to make a bunch. Also, for rosewood, which I use a lot, I collect some dust from time to time when I'm working and have it on hand to use later.
Making some dust.
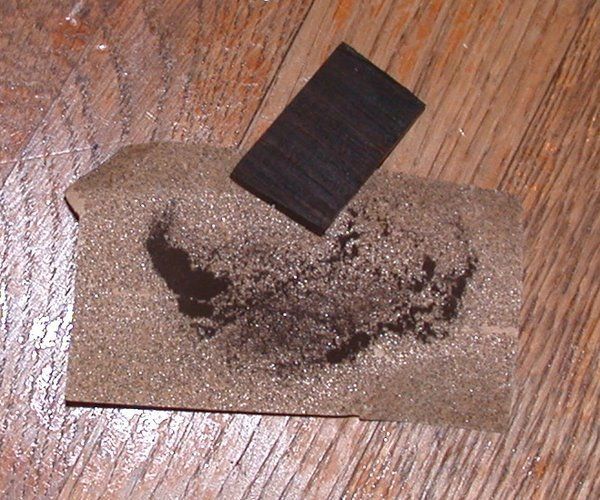
With dark bindings like this, it will never be noticed. With a lighter binding, like maple, I would either use a commercial wood fill product that matches my wood or more likely make a sliver of wood with the same grain orientation and use that to fill any void. Fixing these little issues is an art and takes practice. The level of perfection you want is up to you. Showing that a human made the guitar is not a bad thing as far as I'm concerned.
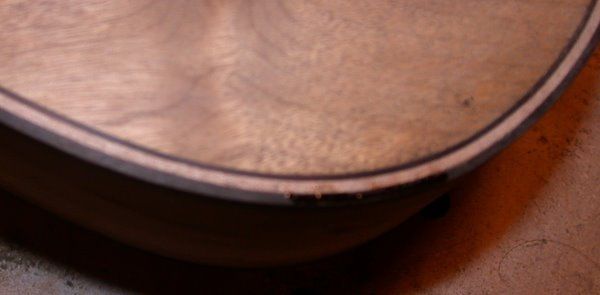
I relieve the sharp edge all around the body with sandpaper, rounding the edge. Some folks like to use a scraper with this but I find sandpaper to work better with wood bindings.
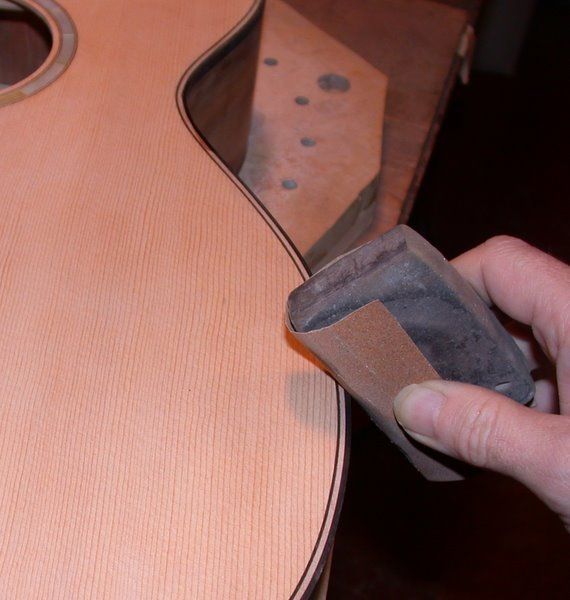
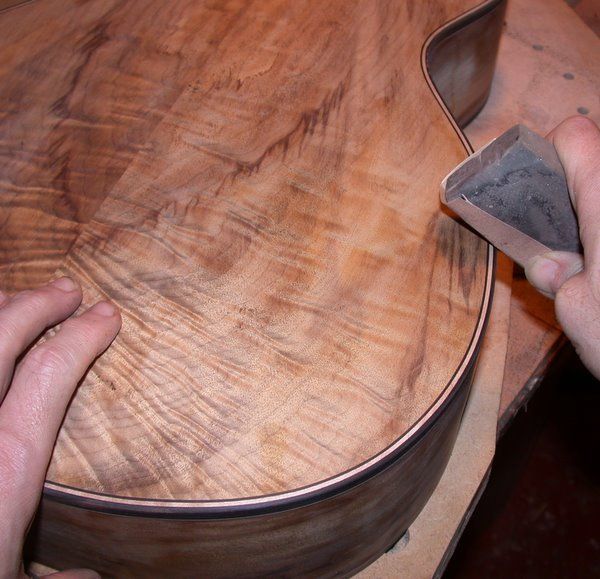
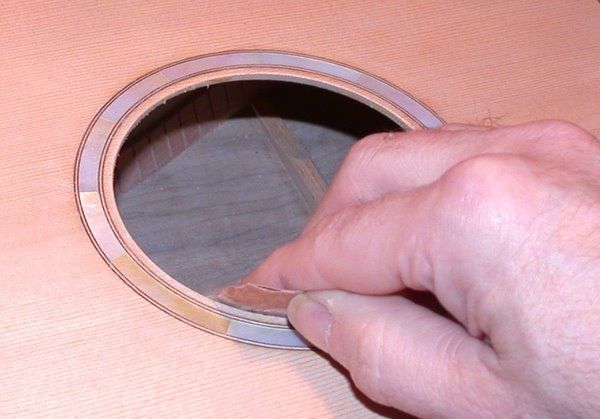
Also round the sound hole edge with sandpaper.
The neck needs to be sanded and checked in the same way.
It's also important to stop at some point. You can go too far in trying to fix imperfections that can't be fixed at this stage. You don't want to take too much wood off at this point. Also, it's tempting to try to sand out an imperfection in a small spot by concentrating your sanding on that spot but this will leave a very noticeable dip at the spot. Either sand the entire area with a block or leave it be. Sometimes you just need to let it be.